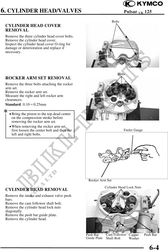
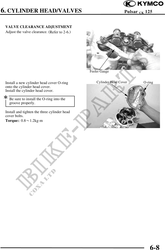
6. CYLINDER HEAD/VALVES Pulsar CK 125
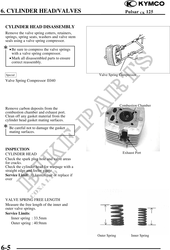
VALVE /VALVE GUIDE
Inspect each valve for bending, burning,
scratches or abnormal stem wear.
Check valve movement in the guide.
Measure each valve stem O.D.
Service Limits:
IN 5.42mm replace if below
EX 5.40mm replace if below
Measure each valve guide I.D.
Service Limits: IN: 5.505mm replace if over
EX: 5.525mm replace if over
Subtract each valve stem O.D. from the
corresponding guide I.D. to obtain the stem-
to-guide clearance.
Service Limits: IN: 0.035mm
EX: 0.055mm
· If the stem-to-guide clearance exceeds
the service limits, replace the guides.
· Reface the valve seats whenever the
valve guides are replaced.
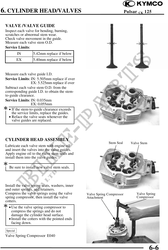
CYLINDER HEAD ASSEMBLY
Stem Seal Valve Stem
Lubricate each valve stem with engine oil
and insert the valves into the valve guides.
Apply engine oil to the valve stem seals and
install them into the valve guides.
Be sure to install new valve stem seals.
Install the valve spring seats, washers, inner
and outer springs, and retainers.
Compress the valve springs using the valve Valve Spring Compressor Valve Spring
spring compressor, then install the valve Attachment Compressor
cotters.
· Use the valve spring compressor to
compress the springs and do not
damage the cylinder head surface.
· Install the cotters with the pointed ends
facing down.
Special
Valve Spring Compressor E040
6-6